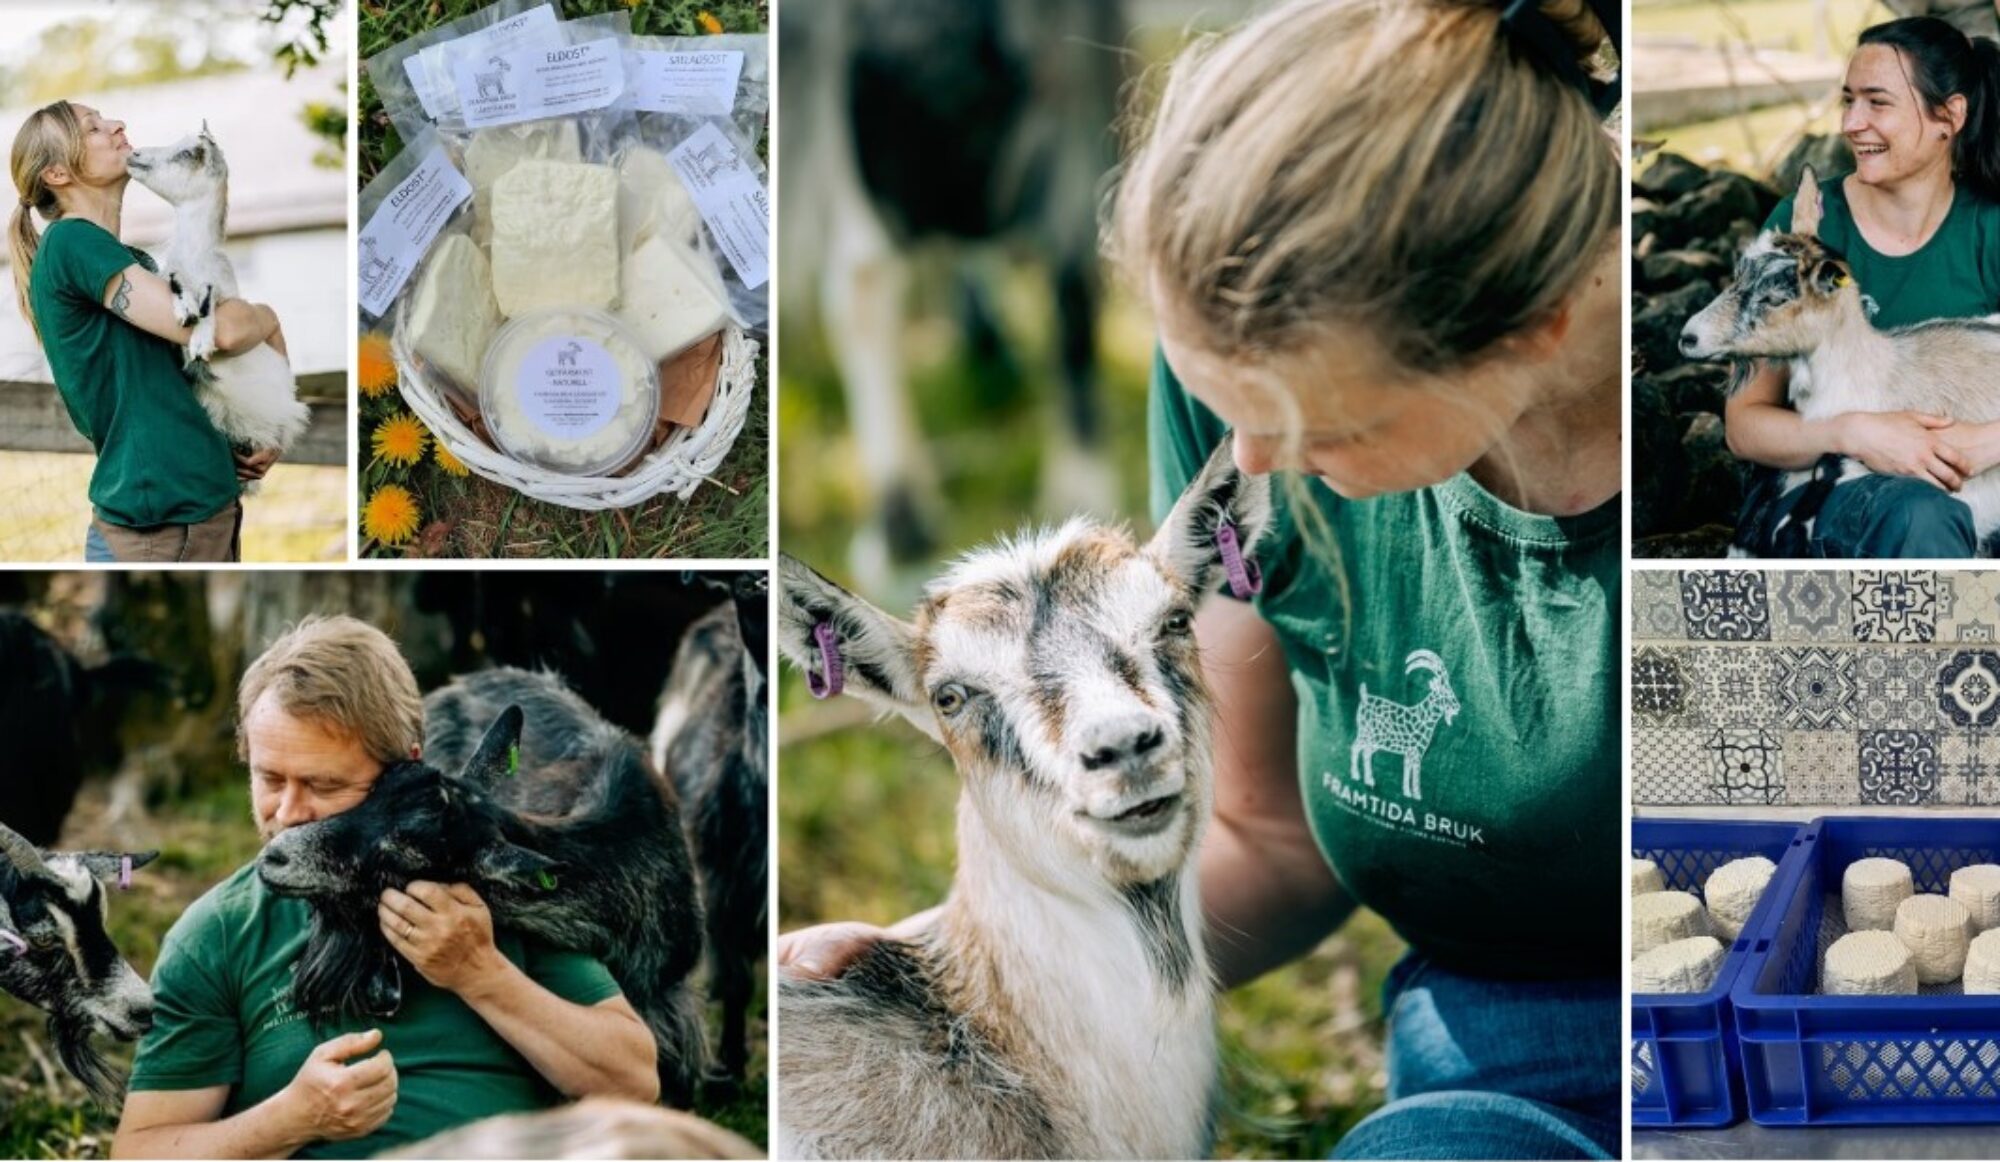
For quite a while we weren’t sure if we should try and make our goat-and-cheese-farm dream come true by building a dairy on location or if we should try to rent a space in a commercial kitchen of some sort. The opportunity arose when Claire’s stepfather decided to bring a container with building materials from China for the house project he is working on, and let us have the container in return for storing the stuff in it on our farm for some time. We then decided that we should convert the 20 foot container to our very own farm dairy!
The container in place in front of one of our barns:

We poured concrete on the floor and made a drain:

Then we cut out holes for windows and doors, put up walls and a ceiling:

We poured more fine concrete as a final layer and had some ”help” decorating:

Then we put up ceramic tiles on the walls, painted the ceiling:

In between there was a lot of work on things such as painting the floor with epoxi, connecting water and sewage, installing ventilation, and of course, putting a roof with a tilt on top of the container:

Finally it was time to move in all the equipment. This is Nils using our 300 l Rademaker cheese-making vat for the first time!

Claire in front of the cheese vat wearing signature hat and apron with our logo:

The whole project took us about 6 months from start to finish, while working with our day-jobs as well as taking care of the goats, etc. Did I mention we also delivered 27 goat babies..?
All in all, building our farm dairy was a really cool project which we are super proud of, and plan to put to good use as well as develop and expand during the years to come.

 After brushing the old paint of we rented a skylift named ”Dino” and used a paint spraying machine to do most of the red areas, except for the front of the house which we painted with brushes by hand.


 The first idea that came to mind was a nice, red, carpet, so we built around that, adding a colorful wallpaper and golden frames as a final touch. Since the ceiling is quite low we were not able to install any of the standard wardrobe-systems found at IKEA, and in fact did not want to cover up too much of the nice walls. Instead, we found some regular cube-shaped shelves of the ”Kallax”-model, as well as a curtain-rod for clothes on hangers.


